
Intro
Get started with hordecode.
hordecode is an open source AI coding agent. It’s available as a terminal-based interface, desktop app, or IDE extension.
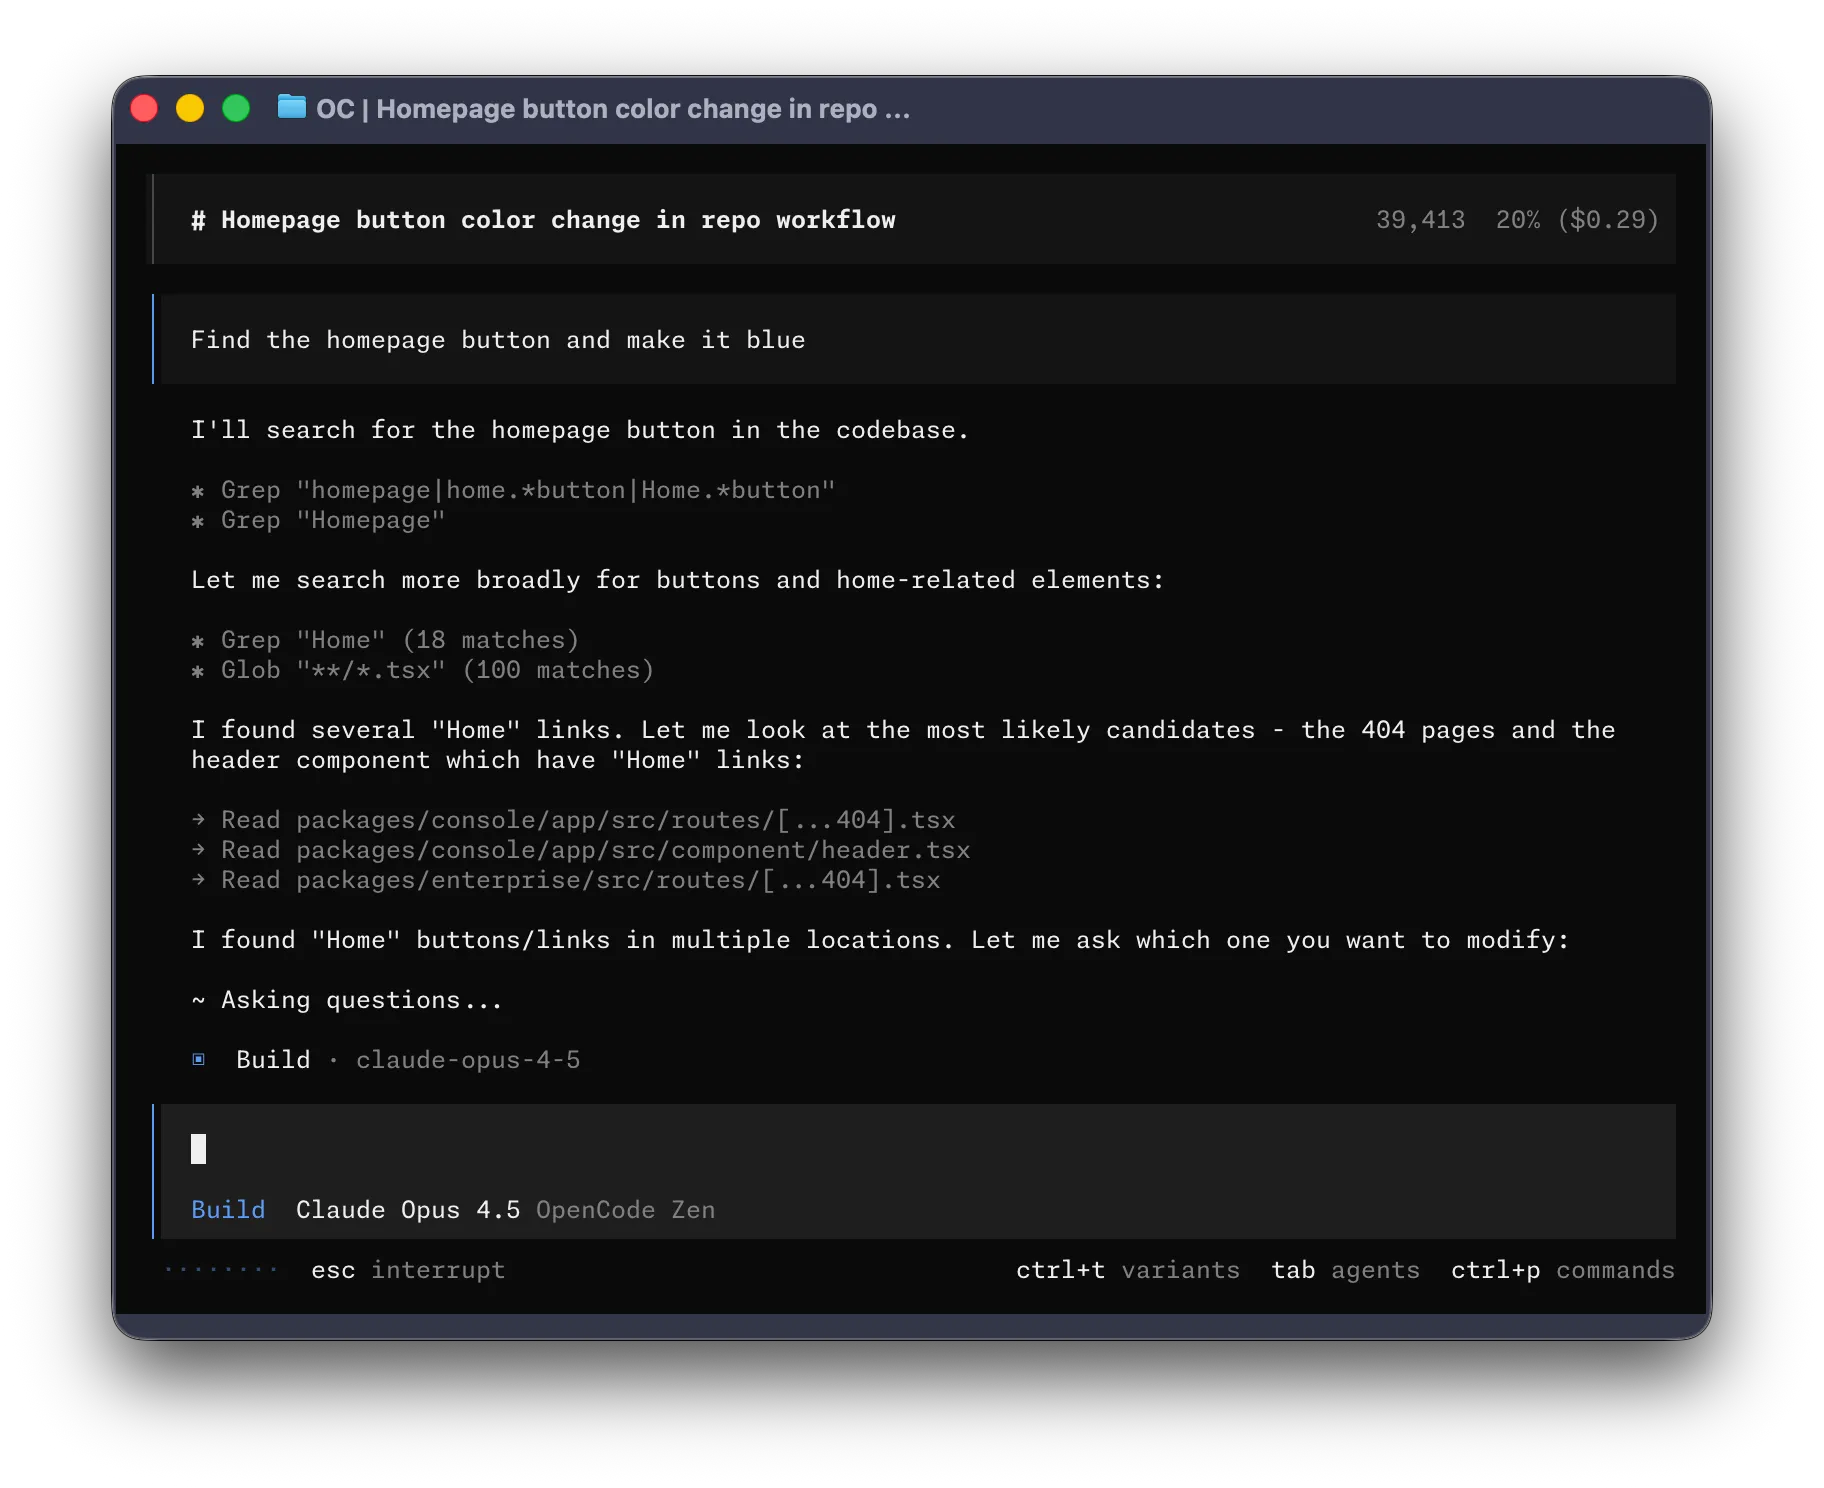
Let’s get started.
Prerequisites
To use hordecode in your terminal, you’ll need:
-
A modern terminal emulator like:
-
API keys for the LLM providers you want to use.
Install
The easiest way to install hordecode is through the install script.
curl -fsSL https://hordecode.com/install | bashYou can also install it with the following commands:
-
Using Node.js
Terminal window npm install -g hordecodeTerminal window bun install -g hordecodeTerminal window pnpm install -g hordecodeTerminal window yarn global add hordecode -
Using Homebrew on macOS and Linux
Terminal window brew install siliconstencil/tap/hordecodeWe recommend using the hordecode tap for the most up to date releases. The official
brew install hordecodeformula is maintained by the Homebrew team and is updated less frequently. -
Installing on Arch Linux
Terminal window sudo pacman -S hordecode # Arch Linux (Stable)paru -S hordecode-bin # Arch Linux (Latest from AUR)
Windows
-
Using Chocolatey
Terminal window choco install hordecode -
Using Scoop
Terminal window scoop install hordecode -
Using NPM
Terminal window npm install -g hordecode -
Using Mise
Terminal window mise use -g github:siliconstencil/hordecode -
Using Docker
Terminal window docker run -it --rm ghcr.io/siliconstencil/hordecode
Support for installing hordecode on Windows using Bun is currently in progress.
You can also grab the binary from the Releases.
Configure
With hordecode you can use any LLM provider by configuring their API keys.
Head over to the providers directory, pick the
one you want to use, and follow its setup guide. Most take just a couple of
minutes with the /connect command in the TUI.
/connectInitialize
Now that you’ve configured a provider, you can navigate to a project that you want to work on.
cd /path/to/projectAnd run hordecode.
hordecodeNext, initialize hordecode for the project by running the following command.
/initThis will get hordecode to analyze your project and create an AGENTS.md file in
the project root.
This helps hordecode understand the project structure and the coding patterns used.
Usage
You are now ready to use hordecode to work on your project. Feel free to ask it anything!
If you are new to using an AI coding agent, here are some examples that might help.
Ask questions
You can ask hordecode to explain the codebase to you.
How is authentication handled in @packages/functions/src/api/index.tsThis is helpful if there’s a part of the codebase that you didn’t work on.
Add features
You can ask hordecode to add new features to your project. Though we first recommend asking it to create a plan.
-
Create a plan
hordecode has a Plan mode that disables its ability to make changes and instead suggest how it’ll implement the feature.
Switch to it using the Tab key. You’ll see an indicator for this in the lower right corner.
<TAB>Now let’s describe what we want it to do.
When a user deletes a note, we'd like to flag it as deleted in the database.Then create a screen that shows all the recently deleted notes.From this screen, the user can undelete a note or permanently delete it.You want to give hordecode enough details to understand what you want. It helps to talk to it like you are talking to a junior developer on your team.
-
Iterate on the plan
Once it gives you a plan, you can give it feedback or add more details.
We'd like to design this new screen using a design I've used before.[Image #1] Take a look at this image and use it as a reference.hordecode can scan any images you give it and add them to the prompt. You can do this by dragging and dropping an image into the terminal.
-
Build the feature
Once you feel comfortable with the plan, switch back to Build mode by hitting the Tab key again.
<TAB>And asking it to make the changes.
Sounds good! Go ahead and make the changes.
Make changes
For more straightforward changes, you can ask hordecode to directly build it without having to review the plan first.
We need to add authentication to the /settings route. Take a look at how this ishandled in the /notes route in @packages/functions/src/notes.ts and implementthe same logic in @packages/functions/src/settings.tsYou want to make sure you provide a good amount of detail so hordecode makes the right changes.
Undo changes
Let’s say you ask hordecode to make some changes.
Can you refactor the function in @packages/functions/src/api/index.ts?But you realize that it is not what you wanted. You can undo the changes
using the /undo command.
/undohordecode will now revert the changes you made and show your original message again.
Can you refactor the function in @packages/functions/src/api/index.ts?From here you can tweak the prompt and ask hordecode to try again.
Or you can redo the changes using the /redo command.
/redoShare
The conversations that you have with hordecode can be shared with your team.
/shareThis will create a link to the current conversation and copy it to your clipboard.
Here’s an example conversation with hordecode.
Customize
And that’s it! You are now a pro at using hordecode.
To make it your own, we recommend picking a theme, customizing the keybinds, configuring code formatters, creating custom commands, or playing around with the hordecode config.